Equipment chapter 03 / Lighting
Work with available light
Before adding a light, learn to notice its direction, apparent size and relationship to the subject. More power is only one possible answer.
Observe before you arrange
Place a simple subject near a window and photograph it from several directions. Watch where shadows fall, how highlights describe shape and what happens when the subject turns. This exercise teaches more about useful lighting than comparing power ratings without a scene in mind. Record the position and time so you can repeat the result.
The apparent size of a source relative to the subject affects shadow softness. A large window close to a small subject can create a gentle transition. The same window seen from farther away appears smaller and can produce more defined shadows. Diffusion can help, but it does not make every source equally soft regardless of placement.
Start with changes that cost nothing
Move the subject, change your angle or choose a different time of day. Open shade can reduce the harsh contrast of direct sun, though nearby surfaces may introduce a color cast. A bright wall can act as a broad reflector. A darker background or a different subject-to-background distance can improve separation without adding any equipment.
Available light has limits: it changes, may not reach where you need it and can require compromises in shutter speed or ISO. Accepting those limits may be appropriate for a flexible personal project. A repeatable product photograph or a time-constrained portrait session may justify a controllable source instead.
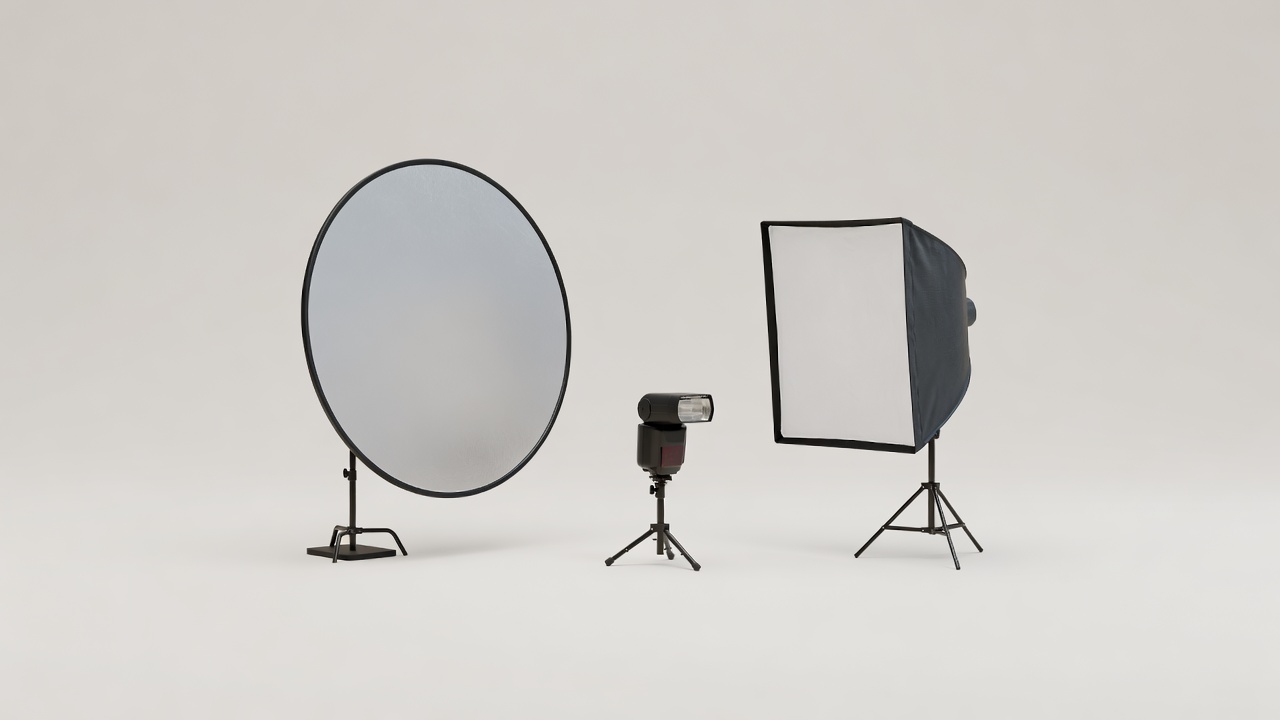
A useful starting point for studying direction. Watch changing brightness and mixed colors from room lighting.
Redirects existing light without creating its own. Position matters, and outdoor use often needs a helper or secure support.
Makes the lighting effect visible before capture and supports video. Check usable output, color consistency, heat and flicker behavior.
Adds a brief pulse that can provide substantial light for still photographs. Requires attention to triggering, synchronization and exposure balance.
Use reflectors with a specific purpose
A white reflector can gently lift shadows. A silver surface tends to create a more directional, stronger reflection and may be uncomfortable when aimed toward someone’s eyes. A black panel absorbs reflected light and can deepen a shadow; it is often called negative fill. Choose the effect, not the largest collection of surfaces.
Keep reflectors stable and away from paths. Even a lightweight panel can catch wind. Avoid directing intense reflected sunlight into a person’s eyes, toward traffic or onto heat-sensitive materials. If a safe position requires more support than you have, change the setup rather than improvising a precarious solution.
Good lighting equipment gives you control over a relationship—not just a brighter scene.
Add flash one variable at a time
Begin with one compatible flash and a simple scene. Bouncing it from a neutral wall or ceiling can turn that surface into a larger apparent source. Distance, surface color and room size affect the result, so bounce is not a universal solution. A high or dark ceiling may absorb too much light or introduce an unwanted cast.
Through-the-lens metering, usually called TTL, can help when distances change. Manual flash power is useful for repeatable setups. Neither mode removes the need to check highlights, subject position and exposure. Keep one variable stable while adjusting another so you can understand why the result changed.
Shutter speed often influences ambient exposure more than the contribution of a short flash pulse, provided you remain within the system’s normal synchronization limits. Aperture and ISO influence both. These are working simplifications, not guarantees for every flash mode. High-speed sync changes the behavior and can significantly reduce effective output. Read the camera, flash and trigger manuals together.
Check the complete connection
A flash that fits the hot shoe may not support the camera’s communication protocol. Radio triggers also have system and firmware requirements. Electronic shutter modes can restrict or disable flash, and older flashes may have electrical characteristics unsuitable for newer bodies. Do not attach an unfamiliar legacy unit without reliable compatibility information.
Light modifiers, brackets and stands belong in the same decision. A softbox adds leverage and wind resistance as well as changing light quality. Verify the mounting system, secure the stand appropriately and keep the working area clear. Never open a flash housing to investigate a fault; internal capacitors can retain hazardous energy.
Know when a new tool is justified
- Describe whether the problem is direction, softness, consistency or quantity.
- Try moving the subject and changing the existing light first.
- Check trigger, shutter and modifier compatibility.
- Plan safe support, batteries and transport.
- Practice the setup before a photograph that cannot be repeated.
One well-understood light often supports more consistent work than several unfamiliar ones. If the lighting approach is clear but equipment shifts, power runs out or files go missing, the next improvement belongs in support and dependability, not another light head.